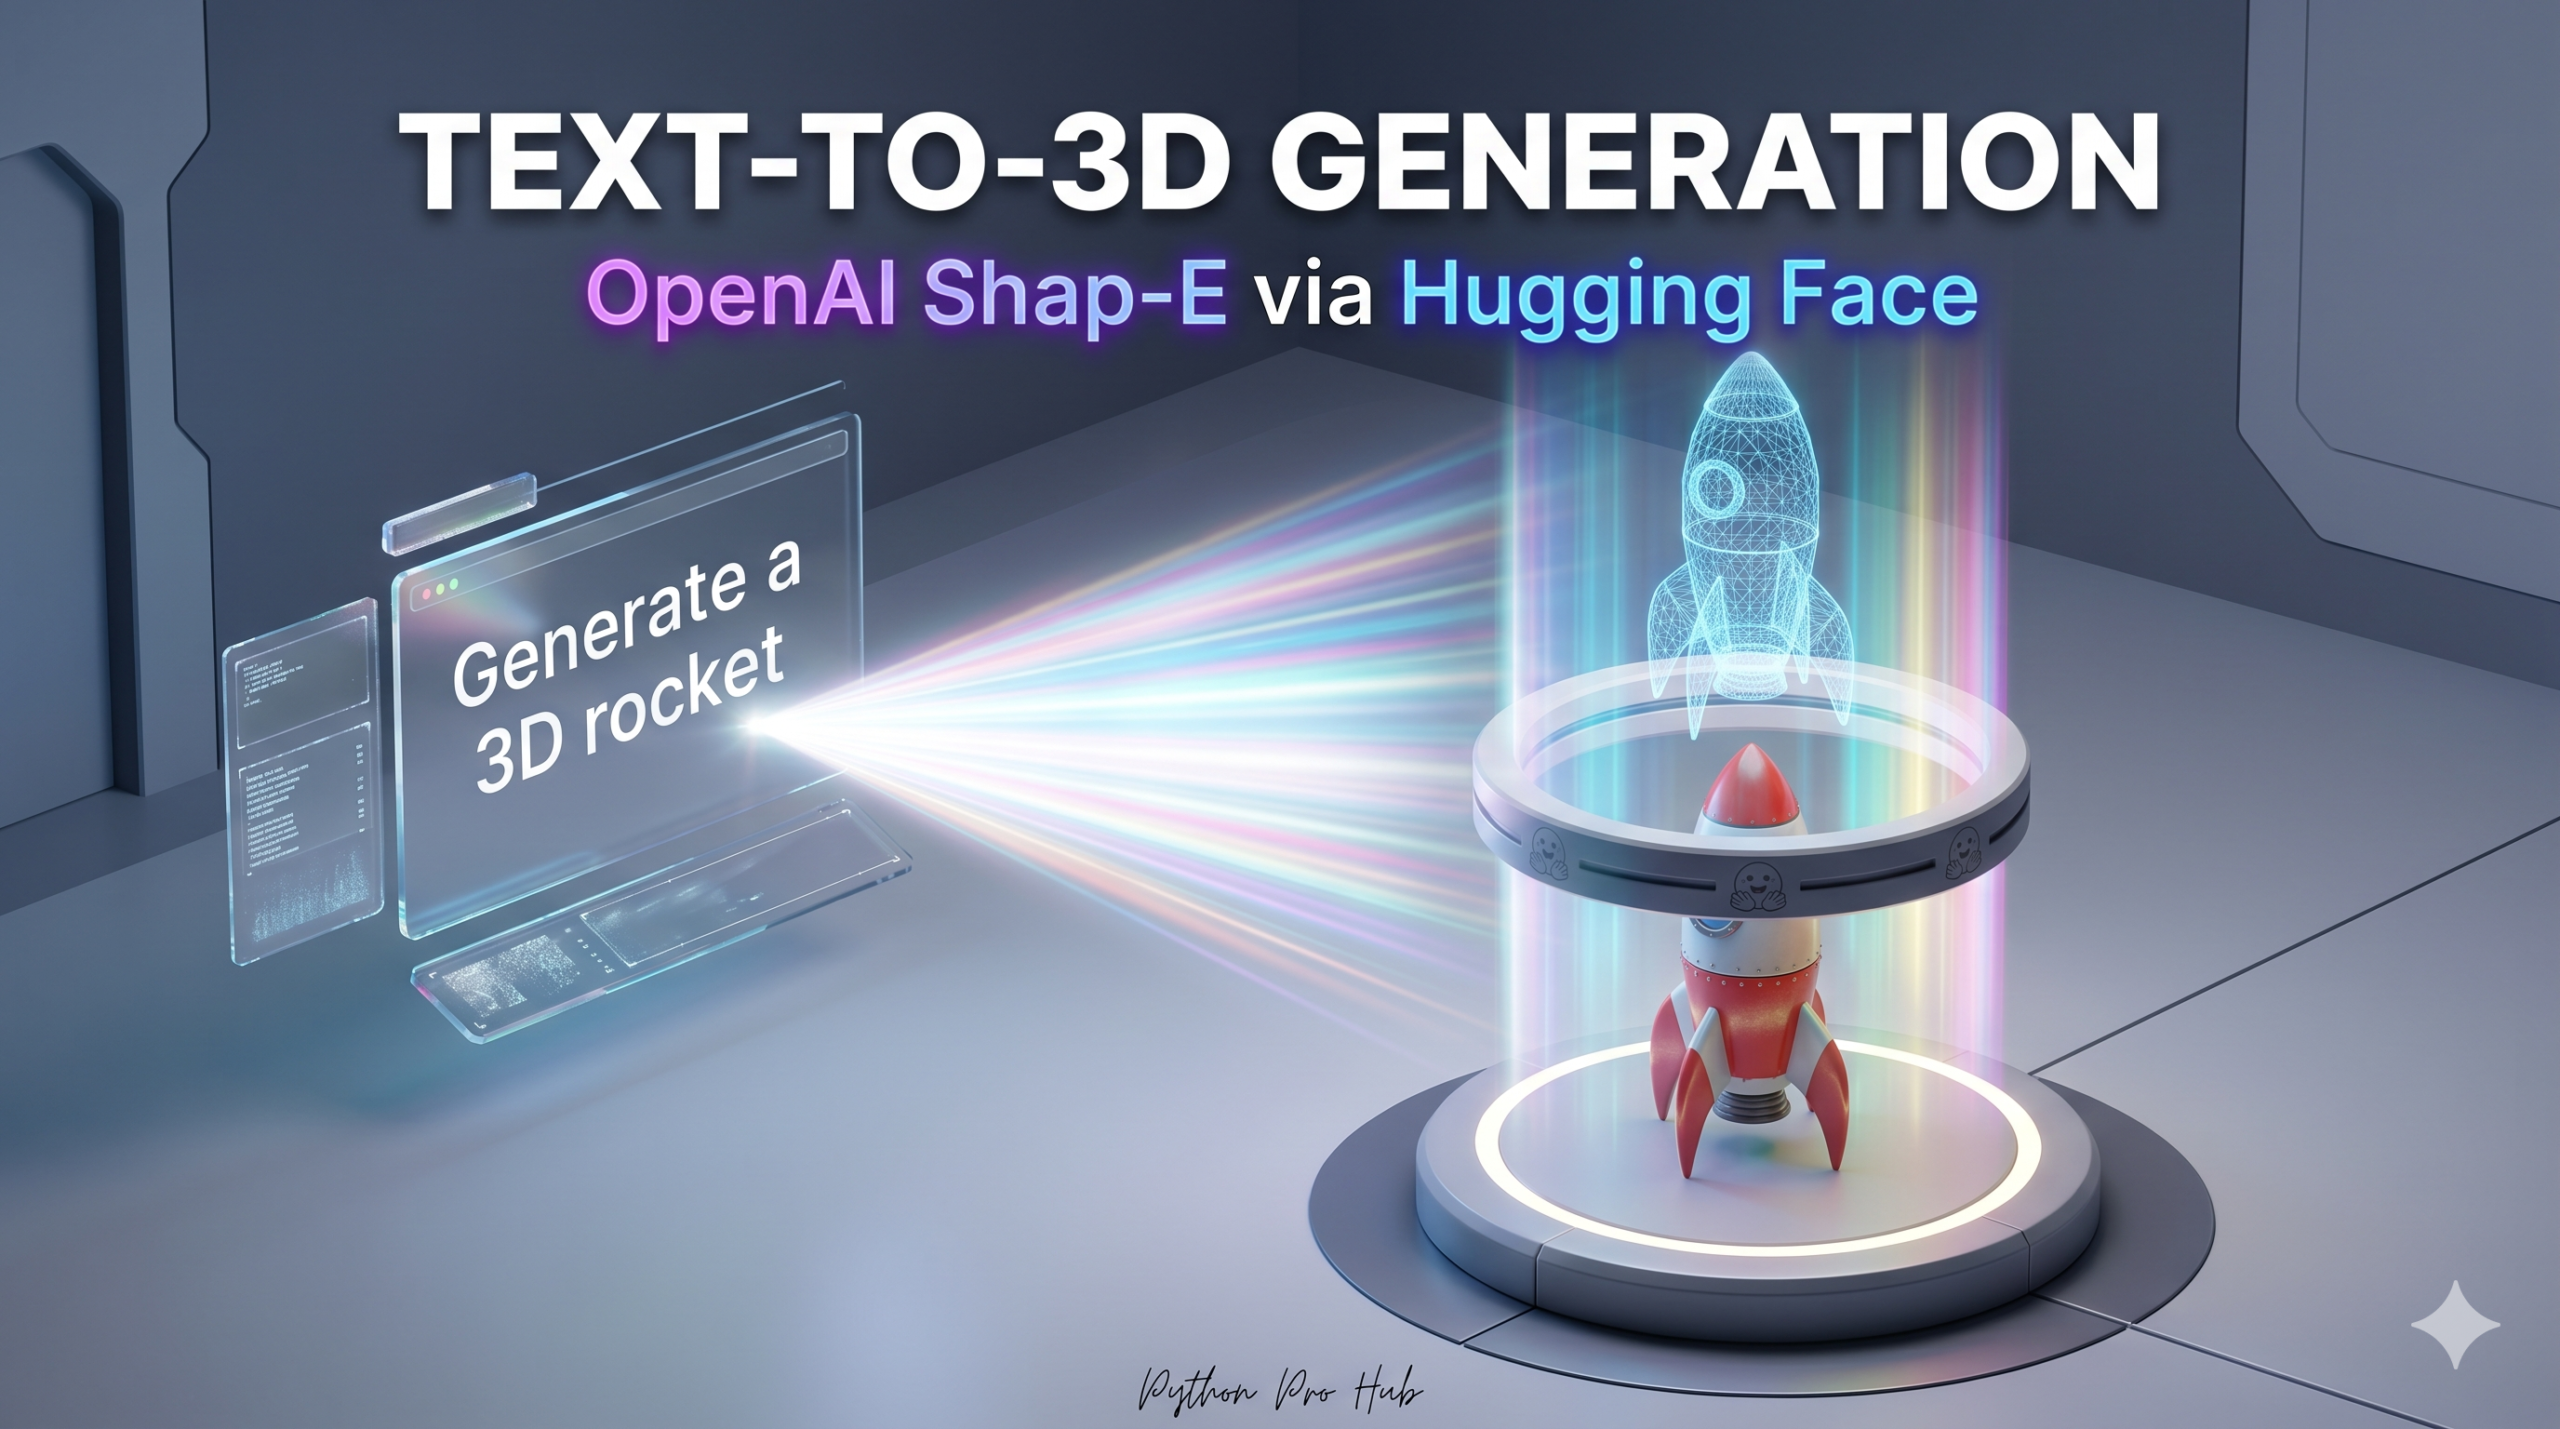
We’ve conquered 2D images and video. Now, let’s enter the third dimension. If you’re interested in how Text to 3D Python works, Shap-E is a model by OpenAI that generates 3D objects from text. It doesn’t just make a picture; instead, it makes a 3D mesh that you can rotate and view from any angle. Moreover, you can even 3D print it.
⚡ Quick Fix: Generate 3D Objects from Text with Shap-E
ShapEPipeline takes a text prompt and returns a sequence of frames representing a rotating 3D object. Additionally, export_to_gif() saves it as a viewable GIF — the fastest way to verify your mesh before exporting to Blender or Unity.
import torch
from diffusers import ShapEPipeline
from diffusers.utils import export_to_gif

pipe = ShapEPipeline.from_pretrained("openai/shap-e").to("cuda")

images = pipe(
    "A futuristic cyberpunk chair, neon lights, sleek design",
    guidance_scale=15.0,
    num_inference_steps=64,
    frame_size=256
).images

export_to_gif(images[0], "cyberpunk_chair.gif")
The full walkthrough below covers pipeline setup and prompt tuning. Afterward, it also explains exporting to .ply for Blender and Unity.
Step 1: Installation
You need diffusers and transformers. (Note: This requires a GPU with ~8-12GB VRAM. Google Colab is recommended).
pip install diffusers transformers torch accelerate
Step 2: The Code
We use the ShapEPipeline.
import torch
from diffusers import ShapEPipeline
from diffusers.utils import export_to_gif

# 1. Load the Pipeline
# "openai/shap-e" is the official model
ckpt_id = "openai/shap-e"
pipe = ShapEPipeline.from_pretrained(ckpt_id).to("cuda")

# 2. Define your prompt
prompt = "A futuristic cyberpunk chair, neon lights, sleek design"

# 3. Generate the 3D object
# The guidance_scale controls how closely it follows the prompt (15.0 is standard)
# num_inference_steps=64 gives high quality
images = pipe(
    prompt,
    guidance_scale=15.0,
    num_inference_steps=64,
    frame_size=256
).images

# 4. Export as a rotating GIF
gif_path = export_to_gif(images[0], "cyberpunk_chair.gif")
print(f"3D object saved as {gif_path}")
Step 3: Advanced (Exporting Mesh)
You aren’t limited to GIFs. You can export the actual 3D point cloud (.ply) to open in Blender or Unity. (Requires installing shap-e from source for advanced mesh handling, but the GIF is the best quick demo).
Shap-E Turns a Text Prompt into a Rotatable 3D Mesh in Under Two Minutes
guidance_scale is the most impactful parameter to tune: values below 10 produce loose, creative interpretations of the prompt. Alternatively, values above 20 over-constrain the model and introduce artefacts in complex geometry. Therefore, start at 15 and adjust in increments of 2 based on your results. frame_size=256 balances speed and mesh resolution. Raise it to 512 for final exports. Keep it at 256 during iteration to cut generation time in half. For .ply export, install the shap-e source package from OpenAI’s GitHub directly. The diffusers integration outputs frames optimised for GIF rendering, not raw point cloud data. Open the exported .ply in Blender with File → Import → Stanford PLY. Then apply a Subdivision Surface modifier to smooth low-poly regions before rendering or printing.
Key Takeaways
- Shap-E by OpenAI generates 3D objects from text prompts, creating rotatable meshes suitable for 3D printing.
- Use the ShapEPipeline to produce a sequence of frames that represent the 3D object and export it as a GIF for quick verification.
- Installation requires diffusers and transformers with a recommended GPU; follow a detailed setup for optimal results.
- You can export the 3D point cloud as .ply for use in Blender or Unity, but it requires advanced setup by installing Shap-E from source.
- Tuning the guidance_scale parameter affects the mesh interpretation, with optimal values around 15 for initial testing.