As you start building more projects (like our Flask App or Calculator), you will inevitably start installing lots of third-party libraries using pip.
This is where you will run into a major problem: Dependency Conflicts.
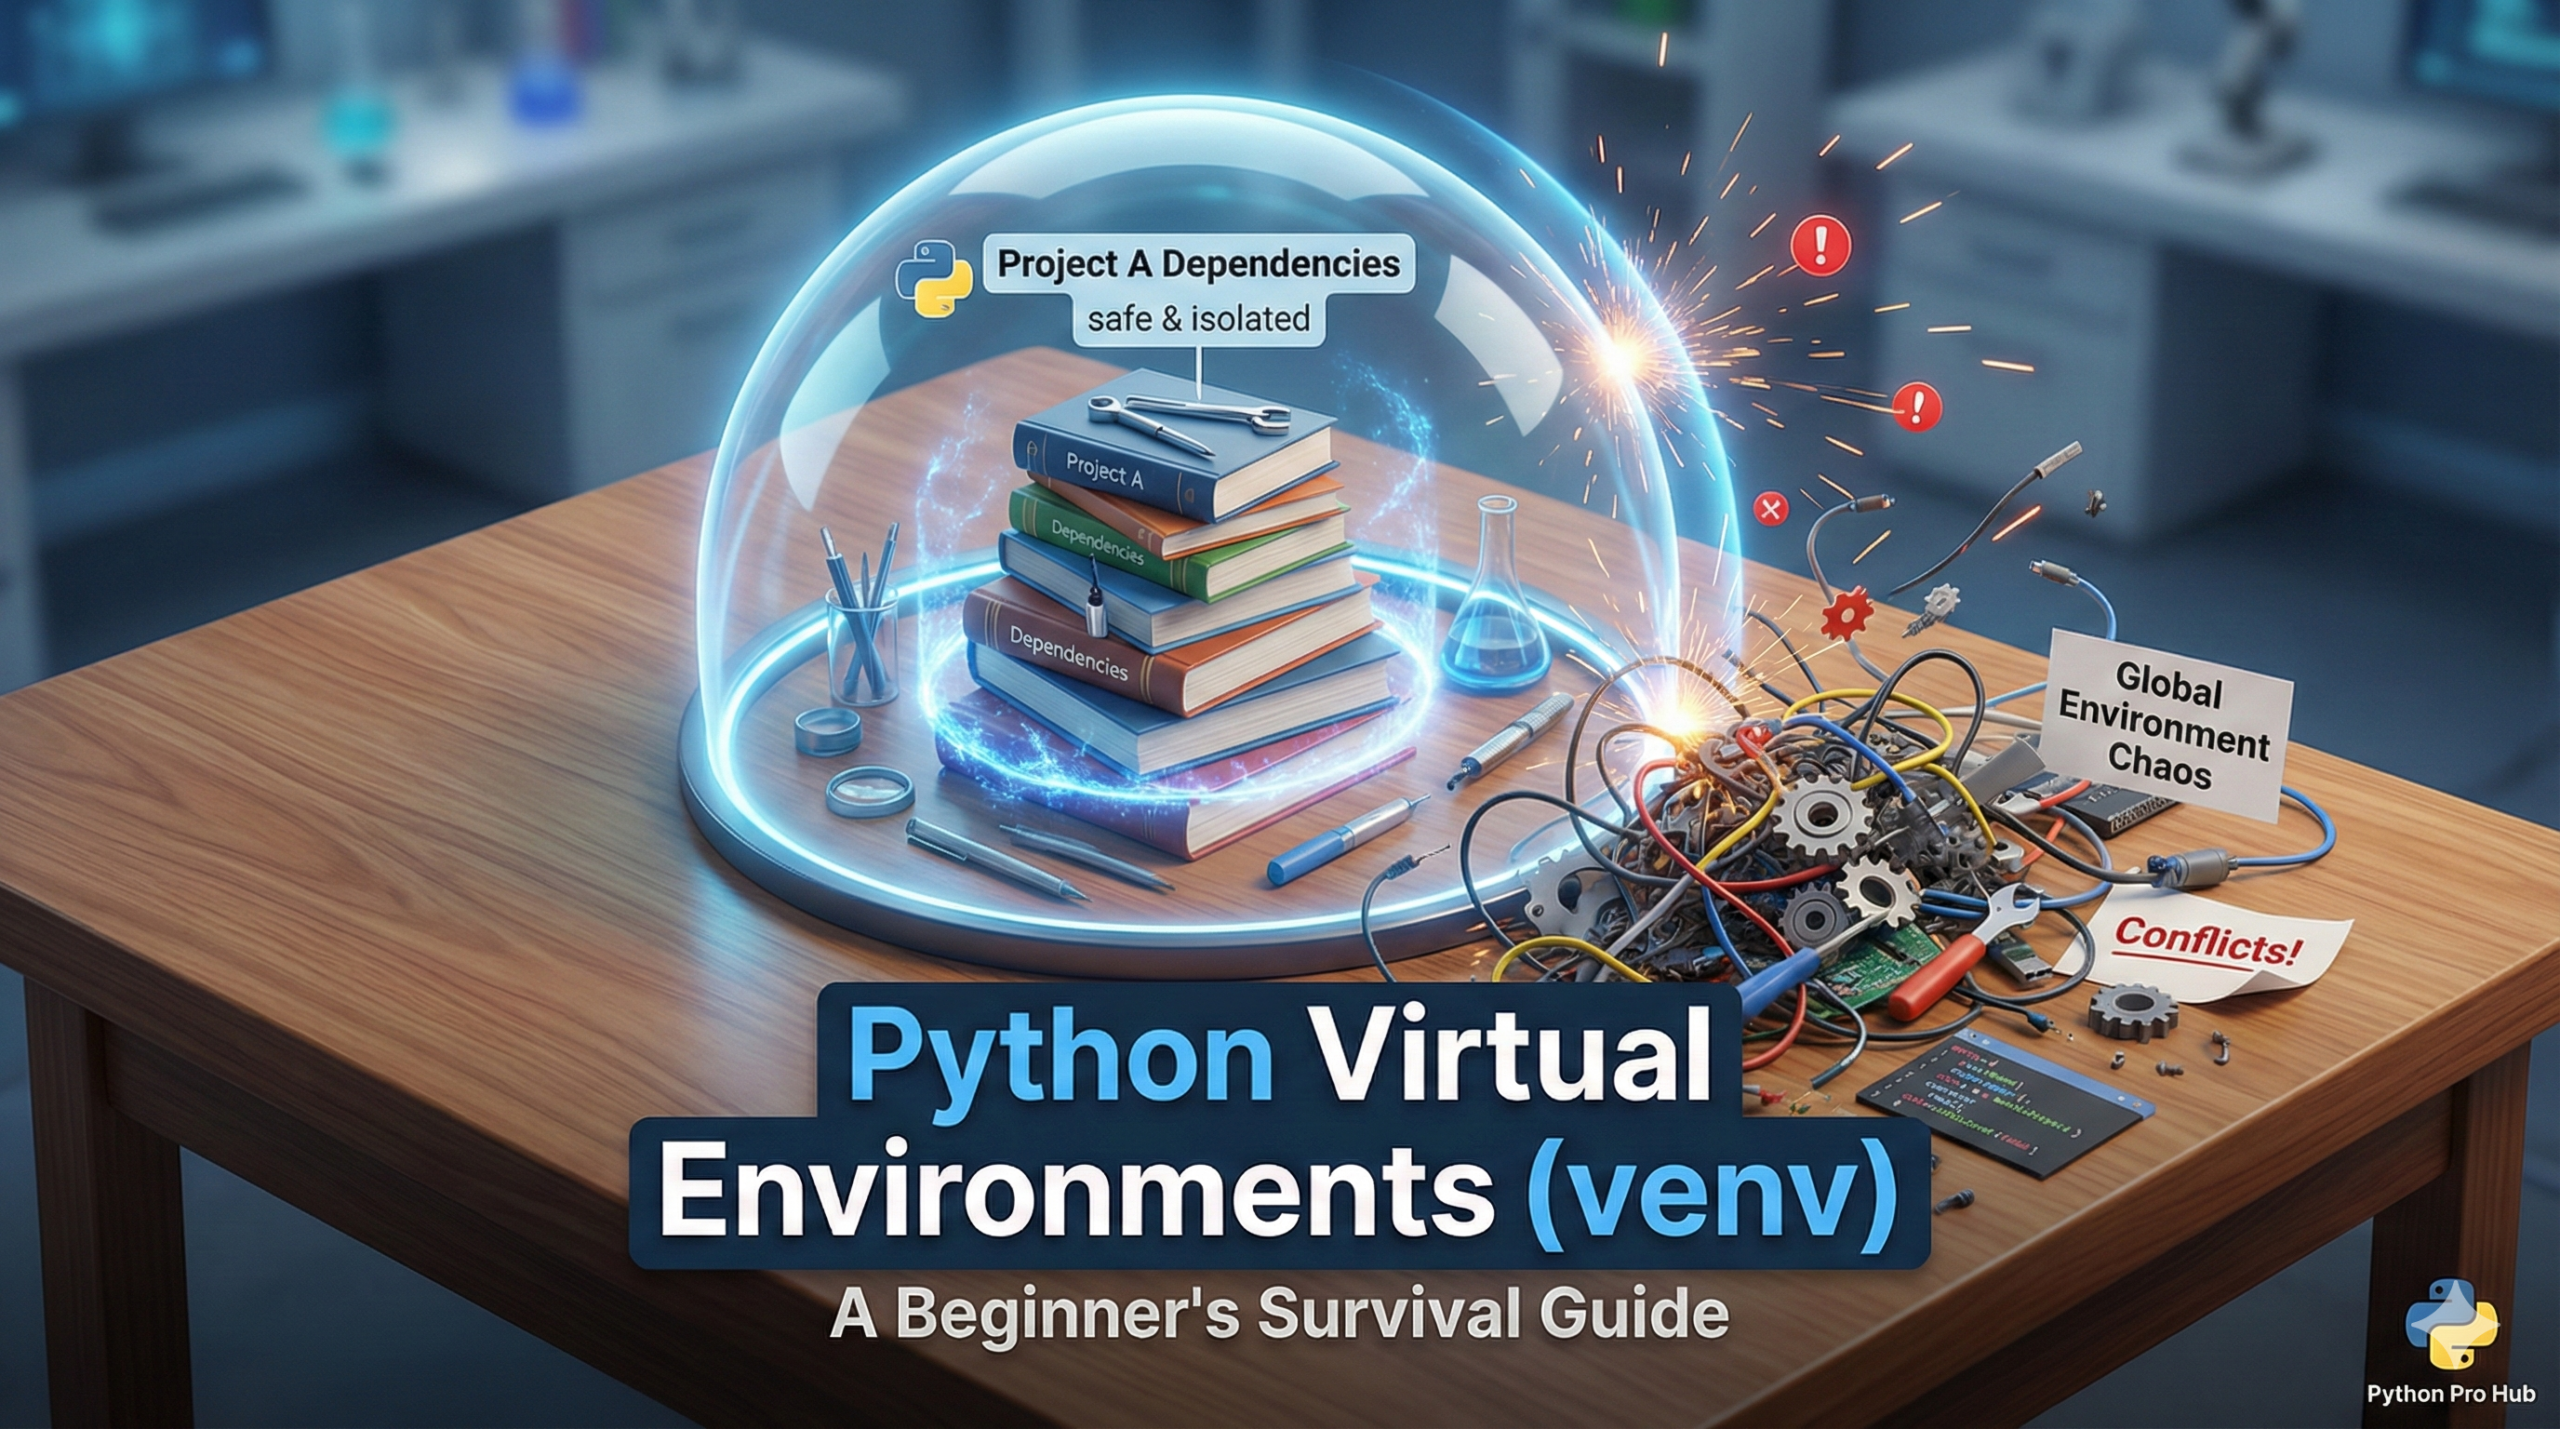
Imagine Project A needs Flask version 2.0, but Project B relies on an older Flask version 1.0. You cannot have both versions installed globally on your computer at the same time. If you upgrade one, you break the other.
The solution? Python Virtual Environments.
What is a Virtual Environment?
Think of it as a self-contained, isolated “box” for your specific project. Inside this box, you can install specific versions of libraries, and they won’t affect any other project on your computer.
The Golden Rule: You should create a new virtual environment for every single project you build.
How to Create One (Standard Library venv)
Python 3 comes with a built-in tool for this called venv. Here is the step-by-step process.
Step 1: Create the Environment
Open your terminal (or command prompt) and navigate to your project folder. Run the following command:
On Windows:

On Mac/Linux:

This creates a new folder named venv in your project directory. This folder is the virtual environment.
Step 2: Activate the Environment
You have to “turn on” the environment to use it.
On Windows (Command Prompt):
venv\Scripts\activateOn Windows (PowerShell):
.\venv\Scripts\Activate.ps1(If you get a permission error in PowerShell, you may need to run the terminal as Administrator).
On Mac/Linux:
source venv/bin/activateOnce activated, you’ll likely see (venv) at the start of your terminal prompt. This means you are inside the box.
Step 3: Install Your Packages
Now, when you run <strong>pip install flask</strong>, it will only install Flask inside this venv folder. This encapsulates the utility of Python Virtual Environments.
Step 4: Deactivate
When you’re done working, just type:
deactivateAnd you’re back to your normal system Python.
Summary
Using Python Virtual Environments is the mark of a professional developer. It keeps your computer clean and your projects stable. Start using them today!