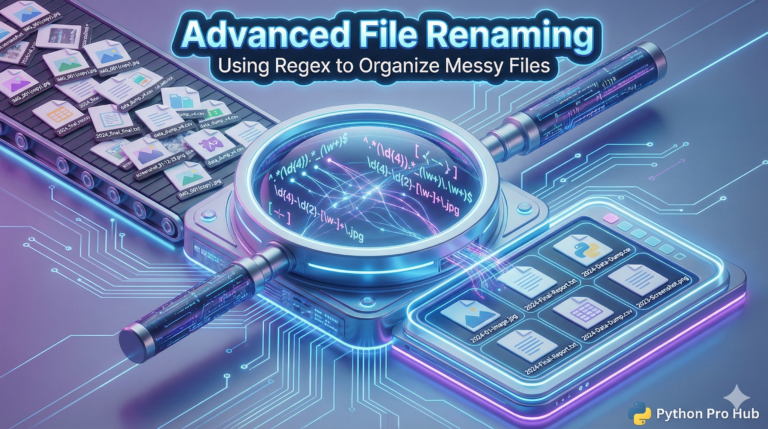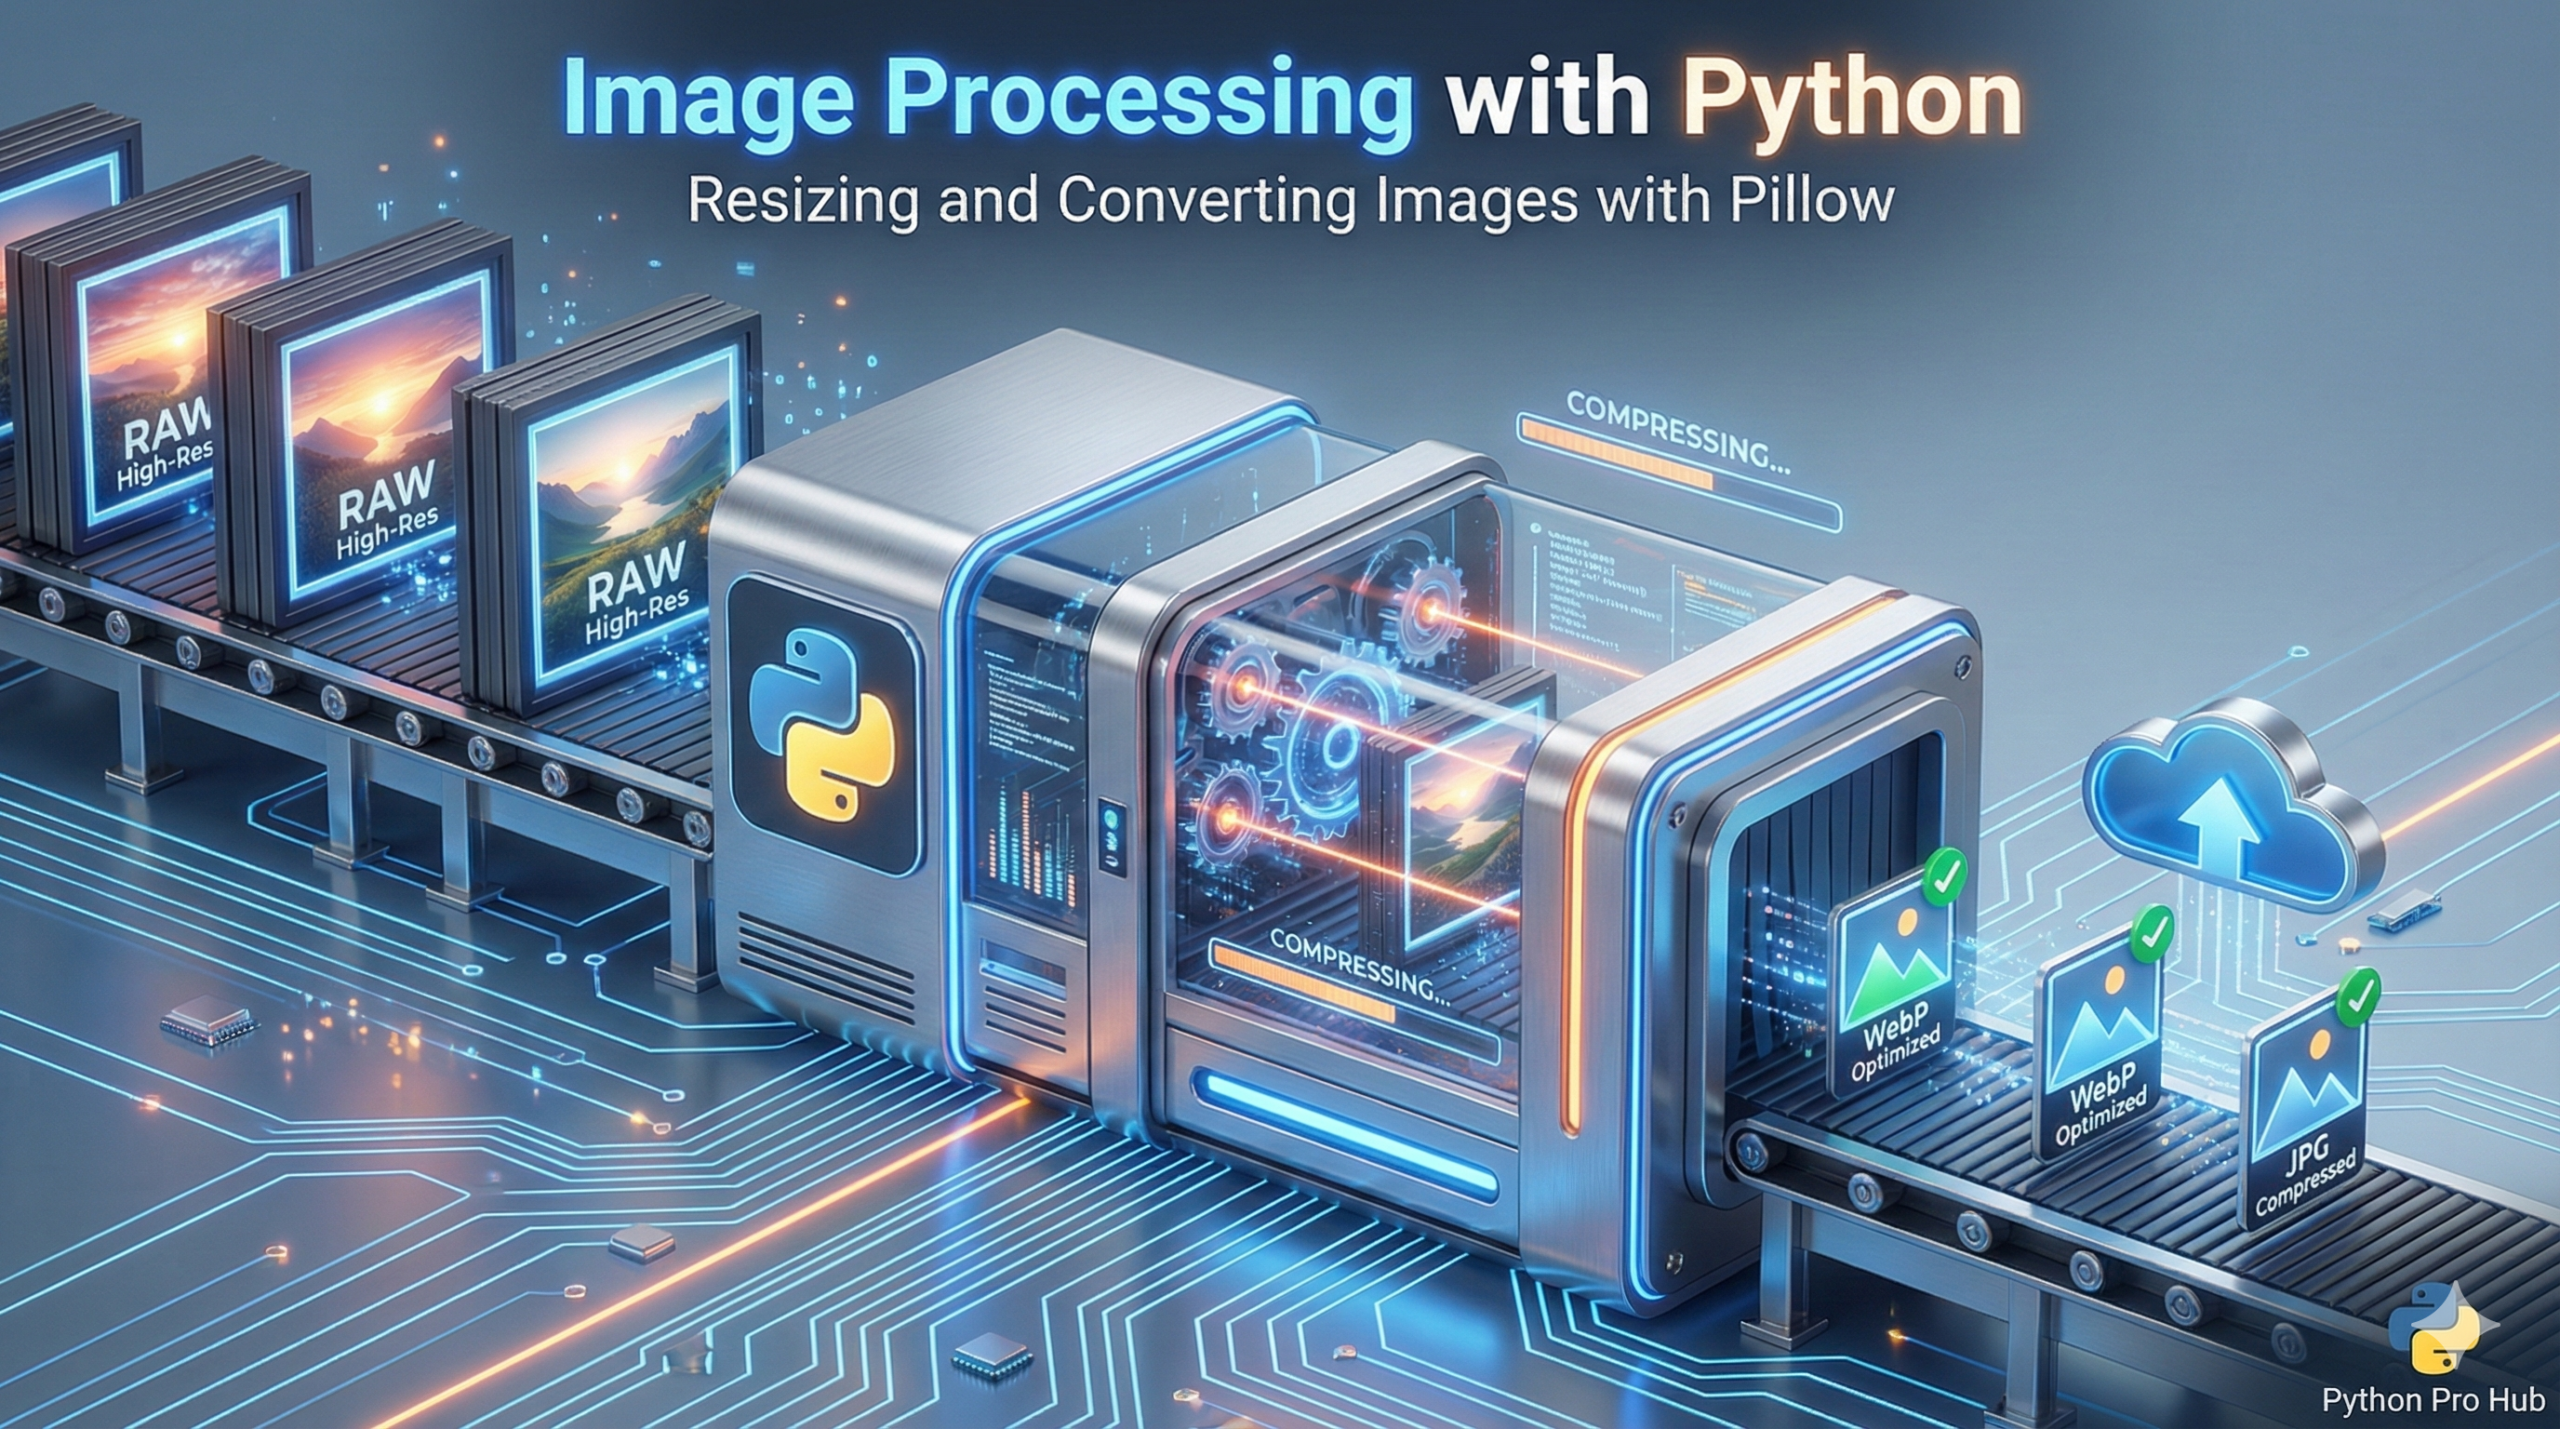
Editing one photo is easy. But with Python Image Processing, editing 500 photos doesn’t have to be a nightmare.
Python’s Pillow library (a friendly fork of PIL) lets you write scripts to automate image tasks.
Step 1: Installation
pip install PillowStep 2: Open and Convert an Image
Let’s say you have a folder of high-res JPGs and you need them as smaller PNGs for a website.
from PIL import Image
import os

# Open an image file
with Image.open("photo.jpg") as img:
    # Convert to PNG and save
    img.save("photo.png", "PNG")
Step 3: Batch Resizing Script
Let’s write a script that finds every JPG in a folder and resizes it to a max width of 800 pixels (maintaining aspect ratio).
from PIL import Image
import os

TARGET_WIDTH = 800
SOURCE_FOLDER = "./raw_photos/"
OUTPUT_FOLDER = "./resized_photos/"

os.makedirs(OUTPUT_FOLDER, exist_ok=True)

for filename in os.listdir(SOURCE_FOLDER):
    if filename.lower().endswith(".jpg"):
        full_path = os.path.join(SOURCE_FOLDER, filename)

        with Image.open(full_path) as img:
            # Calculate new height to keep aspect ratio
            aspect_ratio = img.height / img.width
            new_height = int(TARGET_WIDTH * aspect_ratio)

            # Resize it (LANCZOS is a high-quality filter)
            resized_img = img.resize((TARGET_WIDTH, new_height), Image.Resampling.LANCZOS)

            # Save to the output folder
            output_path = os.path.join(OUTPUT_FOLDER, filename)
            resized_img.save(output_path, optimize=True, quality=85)
            print(f"Resized: {filename}")