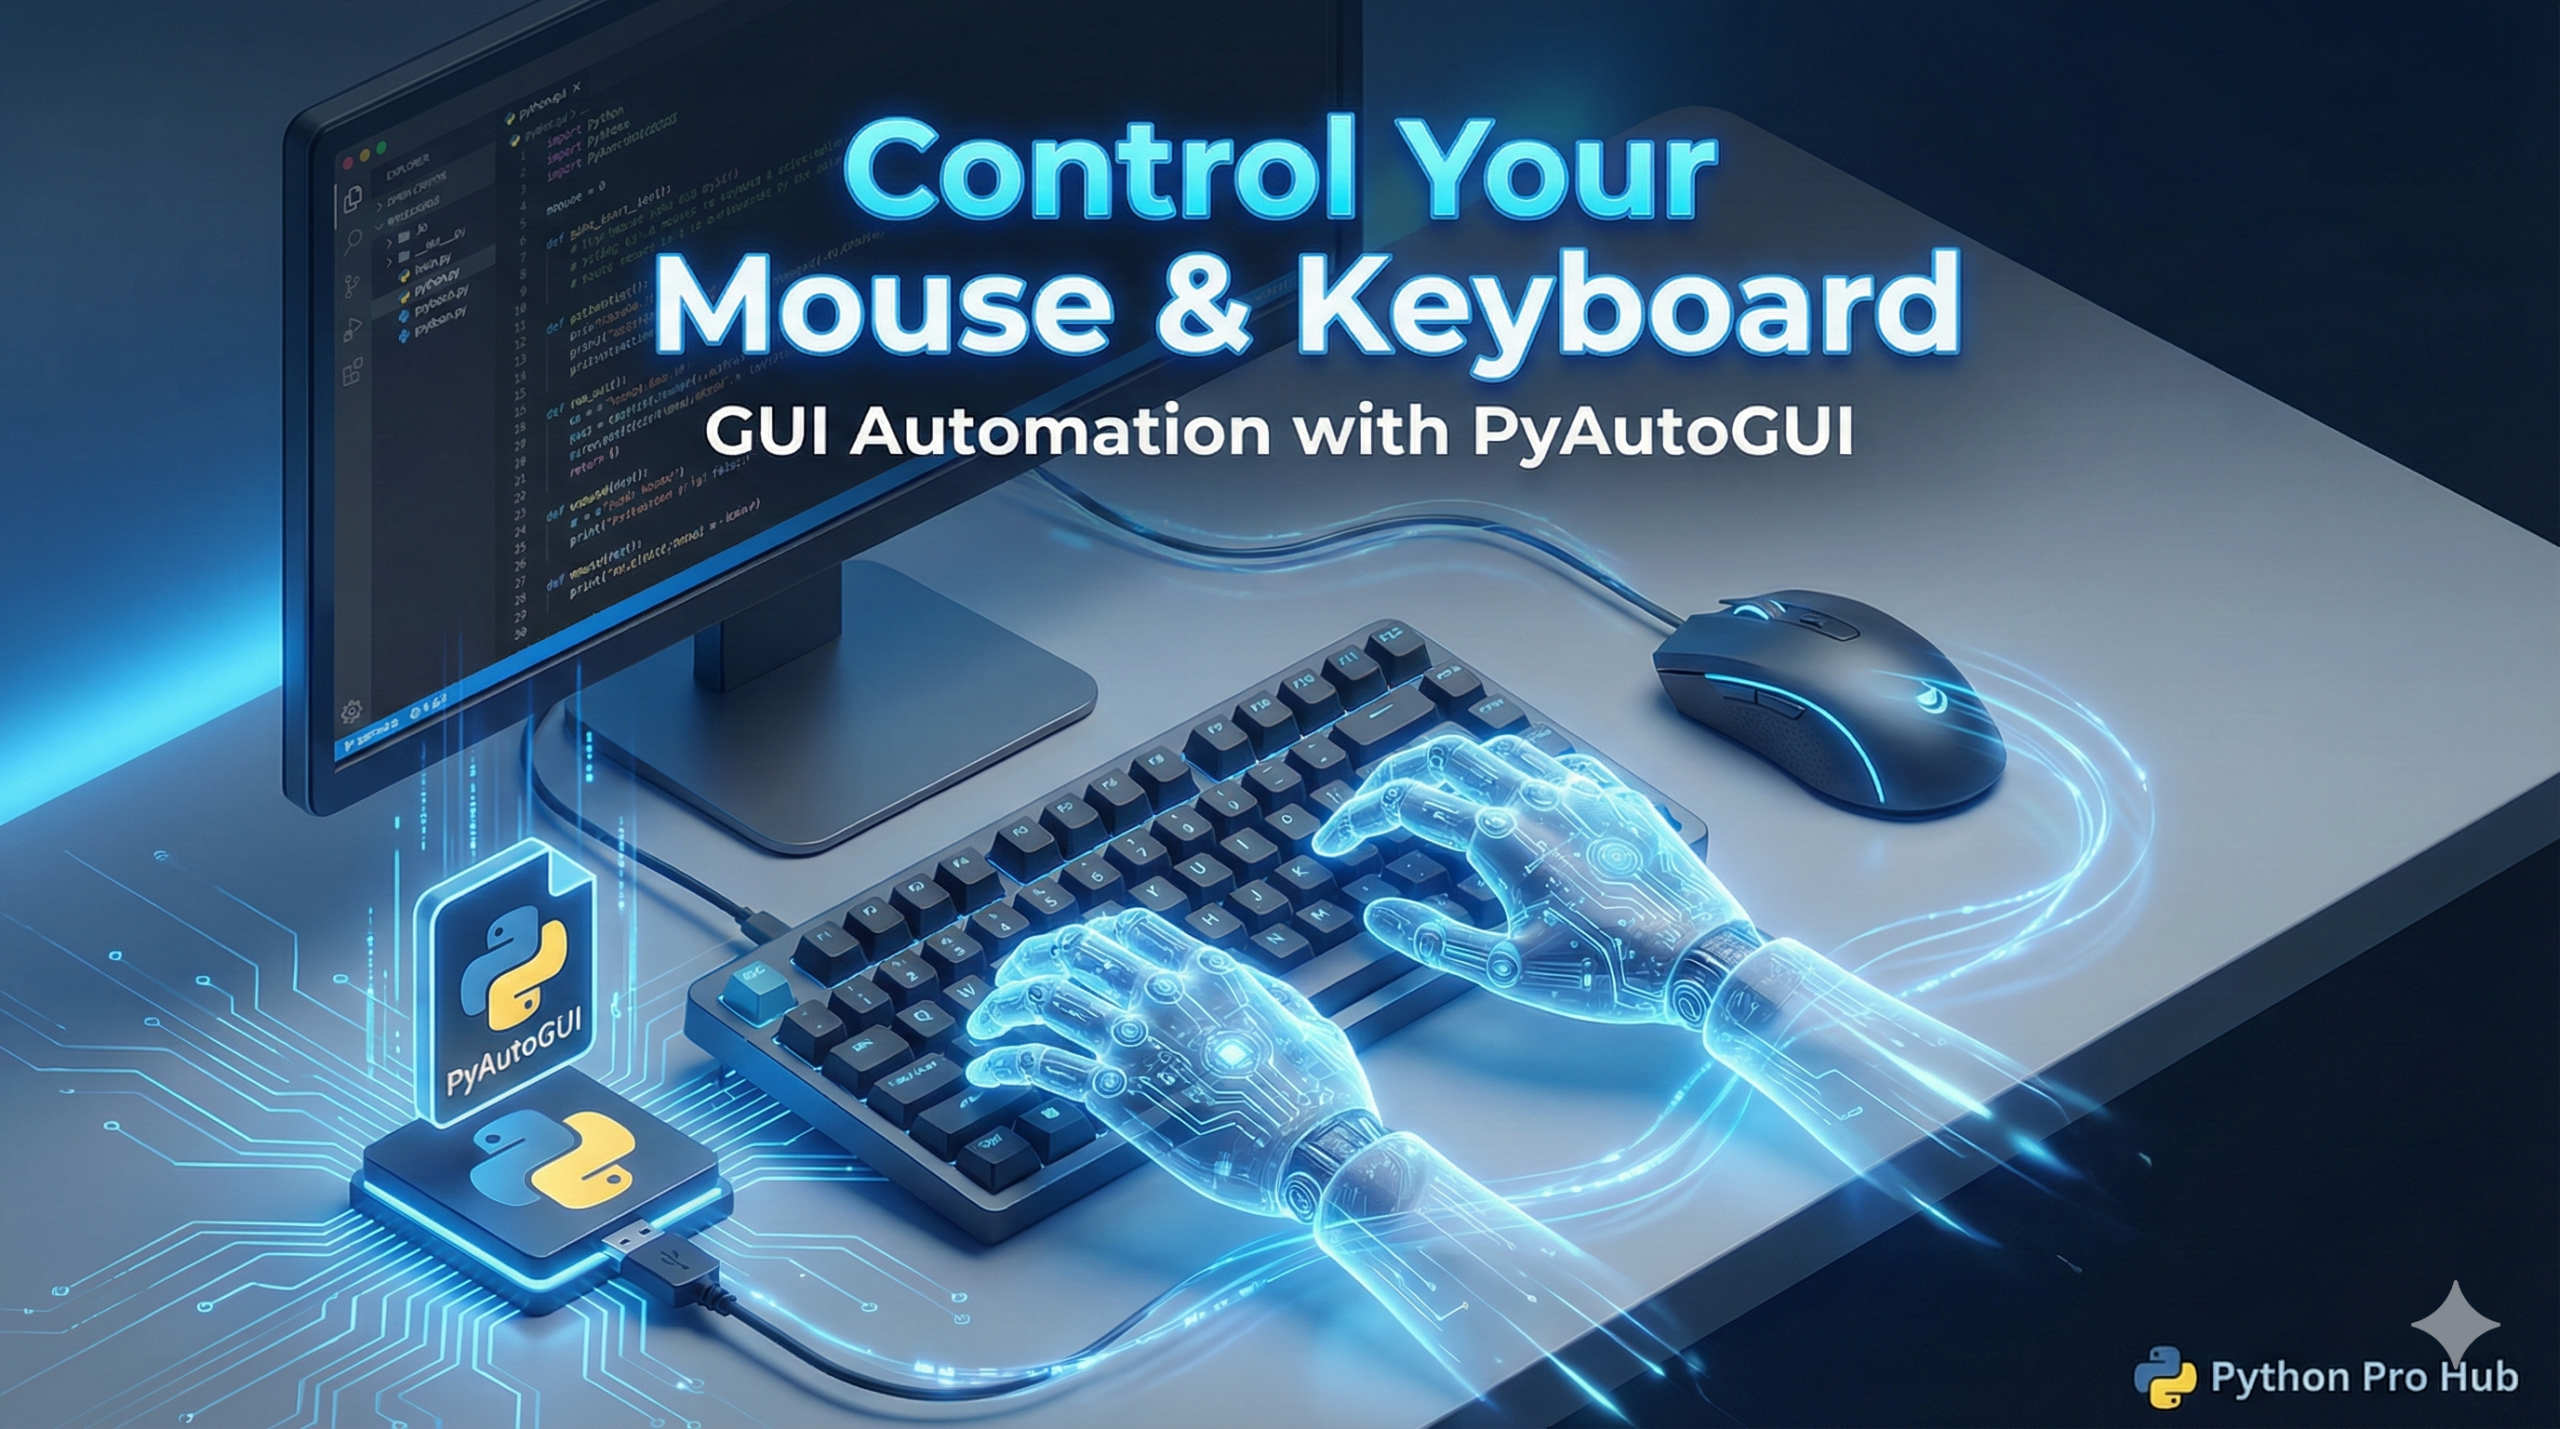
When faced with tasks in a desktop app, not a website, Python GUI Automation becomes essential as sometimes you can’t use APIs or Selenium.
For this, you need PyAutoGUI. It’s a library that lets Python pretend to be a human user: moving the mouse, clicking icons, and typing.
⚠️ The Fail-Safe (READ THIS FIRST)
When you automate the mouse, things can go wrong fast. If your script goes to go wild, you need a way to stop it. PyAutoGUI has a built-in fail-safe: Slam your mouse to the top-left corner of the screen to instantly crash the script.
Step 1: Installation
pip install pyautogui
Step 2: Basic Mouse Control
import pyautogui
import time

# Wait a few seconds so you can switch to the target window
time.sleep(3)

# Get screen size
width, height = pyautogui.size()
print(f"Screen resolution: {width}x{height}")

# Move the mouse to the middle of the screen (Duration makes it move smoothly)
pyautogui.moveTo(width / 2, height / 2, duration=1)

# Click!
pyautogui.click()

# Right-click
pyautogui.click(button='right')
Step 3: Keyboard Control
# Type something out (with a slight delay between keys to look human)
pyautogui.write("Hello, world! I am being typed by Python.", interval=0.1)

# Press specific keys
pyautogui.press('enter')

# Key combinations (shortcuts)
pyautogui.hotkey('ctrl', 'c')  # Copy (use 'command' on Mac)
Warning
PyAutoGUI is “blind.” It doesn’t know what it’s clicking on, only where it’s clicking. If a window moves unexpectedly, your script will click the wrong thing!